Contact Adhesive for Laminate: HPL Countertop Bonding Guide
||10 min read|PACT Technical Team
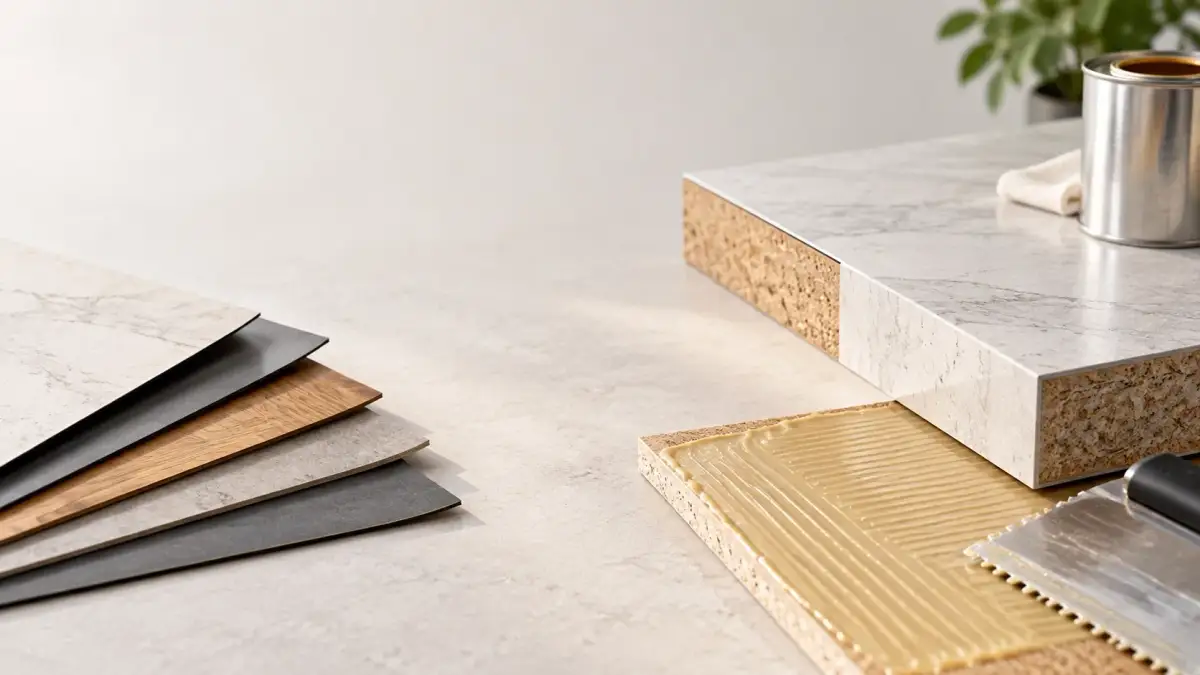
High-pressure laminate (HPL) is one of the most widely used surfacing materials in furniture and countertop manufacturing. From kitchen worktops and bathroom vanities to office desks and retail fixtures, HPL provides a durable, decorative surface at a fraction of the cost of natural stone or solid wood. The key to a reliable HPL installation is the adhesive bond between the laminate sheet and the substrate — and contact adhesive is the standard bonding method used by factories worldwide.
This guide covers the complete HPL lamination process — from adhesive selection and surface preparation to pressing technique and delamination troubleshooting. Whether you operate a furniture factory producing countertops at scale or a workshop handling custom cabinetry, these best practices will help you achieve consistent, defect-free bonds that withstand heat, moisture, and daily wear.
Understanding HPL Bonding Requirements
HPL (High-Pressure Laminate) is manufactured by pressing layers of kraft paper saturated with phenolic resin under high heat and pressure (over 1000 PSI at 140-150°C). The result is a dense, non-porous sheet typically 0.6-1.2 mm thick with a melamine-impregnated decorative surface. The back side of HPL is deliberately sanded at the factory to provide a mechanical bonding surface — this sanded texture is essential for adhesive grip.
Common Substrates for HPL
The substrate provides the structural body of the countertop or panel. Each substrate type has different porosity, which affects adhesive absorption and required coat weight:
—Particleboard (chipboard): The most common substrate for countertops. Highly porous — requires a seal coat of adhesive before the main application coat to prevent starvation of the glue line.
—MDF (Medium Density Fiberboard): Denser and smoother than particleboard, with moderate porosity. Provides a flatter bonding surface and more consistent adhesive absorption. Preferred for high-end furniture and curved applications.
—Plywood: Used where moisture resistance or structural strength is needed (bathroom vanities, marine applications). Surface veneer grain can create uneven adhesive wetting — sand with 80-grit before coating.
—Existing laminate (re-lamination): When overlaying new HPL on old laminate, the existing surface must be thoroughly sanded with 80-grit sandpaper to break the glaze. This is a non-porous bond — both surfaces are non-absorbent.
Why Contact Adhesive for HPL?
Contact adhesive is the industry standard for HPL bonding because of three properties: instant bond upon pressing (no clamping required), flexibility to accommodate substrate movement, and heat resistance sufficient for kitchen countertop applications. Unlike PVA (white glue) or epoxy, contact adhesive bonds immediately when the two dried adhesive films meet under pressure, allowing production to continue without waiting for cure time under clamps.
Choosing the Right Contact Adhesive for Laminate
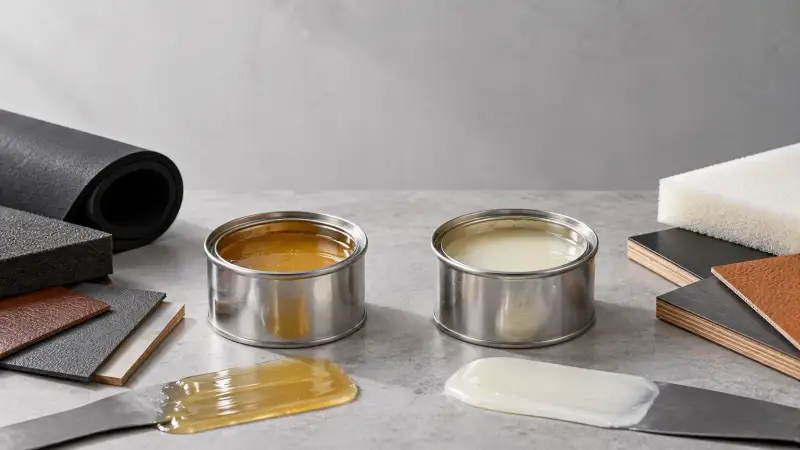
Three types of contact adhesive are used for HPL lamination: neoprene (CR), SBS (styrene-butadiene-styrene), and water-based. Each has distinct performance characteristics that suit different applications and production requirements.
Property
Neoprene (CR)
SBS
Water-Based
Heat Resistance
Up to +120°C
Up to +70°C
Up to +80°C
Peel, wood-to-laminate (N/mm)
≥3.0
≥2.0
≥2.5
Open Time
10-20 min
15-30 min
20-40 min
VOC Content
High (solvent-based)
High (solvent-based)
Low / near zero
Post-Forming Capability
Excellent
Limited
Not recommended
Relative Cost
Higher
Lower
Medium
Best For
Countertops, post-forming, high-heat areas
Vertical panels, furniture sides, budget projects
VOC-regulated markets, low-heat surfaces
Heat, peel and open-time figures are the TDS values of PACT's own three grades, with peel measured wood-to-laminate at 23°C. Other manufacturers' grades of the same chemistry can sit well above or below them, and a different board, coat weight or press changes the result — compare candidates on your own panels.
For kitchen countertops and any surface near heat sources, neoprene contact adhesive is the recommended choice due to its superior heat resistance. SBS is suitable for vertical surfaces, shelving, and furniture panels that are not exposed to high temperatures. Water-based options work well for porous-to-porous substrate bonds in markets with strict VOC regulations.
First Question: Do You Have a Press?
Contact adhesive is the standard answer for HPL because it bonds on contact and needs no clamping. That advantage only matters if you have no press. A workshop with a cold or hot press has a second route — a water-based PVAc or VAE wood adhesive spread on one side — which usually costs less per square metre and releases no solvent, at the price of press time per panel. The two routes are not ranked; they suit different shops and different panels.
Your situation
Route that normally fits
What it costs you
Confirm before committing
No press; flat panels
Contact adhesive on both faces
Coating both sides, drying space, no repositioning once closed
Workshop temperature and humidity; drying area for coated panels
Cold or hot press available; flat panels
PVAc or VAE press adhesive, single-sided spread
Press time per panel; press capacity becomes the bottleneck
Press time you can give each load; water resistance class the panel needs
Post-formed or curved edges
Neoprene contact adhesive
Heat resistance at the bend is what the bond has to survive
Post-forming grade HPL; bend radius; hold until cool
Membrane or vacuum press; 3D fronts
Water-based PU or PVAc membrane-pressing adhesive
A different adhesive class and process from HPL flatwork
Foil or veneer type, press temperature and cycle
Edge banding on a machine
EVA or PUR hot melt — a separate product from panel adhesive
Not in our catalogue; specified by the banding machine
Machine make and glue pot temperature
A water resistance class such as EN 204 D3 describes how the bond line survives moisture, not how strong or heat resistant it is. Specify the class your panel actually needs rather than reading a higher number as a better adhesive. Our water-based wood adhesives page sets out what we assess on request; the selection guide carries both branches side by side.
Compare Cost Per Square Metre, Not Per Kilogram
A cheaper drum can produce a more expensive panel. What decides the cost of a bonded square metre is how much wet adhesive you have to lay down to get a sound glue line, which depends on the solids content, the board's absorbency and how much you lose to overspray or a seal coat. Work it out like this, with your own figures:
wet adhesive per m² = coat weight both faces ÷ usable fraction
adhesive cost per m² = wet adhesive per m² × price per kg
The usable fraction is what actually lands on the panel: close to 1 for brush and roller, lower for spray, lower again on porous board that takes a seal coat first.
Then add what the route costs beyond the tin: the second coat and its drying space for contact adhesive, or press time per panel for a pressed route, plus rework and scrapped panels. A shop that fits one more pressed panel per hour may be better off than one that saves on the drum. Ask each supplier for the coat weight their figure assumes — a quotation against a lower coat weight than you can achieve is not comparable.
Surface Preparation for HPL Lamination
Proper surface preparation accounts for over 50% of bond success. Both the substrate and the HPL back must be clean, dry, and free of contamination before adhesive application.
Substrate Preparation
—Flatness check: Place a straightedge across the substrate. Any gaps over 0.5 mm must be filled and sanded flat. Bumps in the substrate telegraph through the laminate and create visible defects.
—Moisture content: Substrate moisture must be below 12% for particleboard and MDF. Use a pin-type moisture meter to verify. Excess moisture causes adhesive failure and substrate swelling after lamination.
—Dust removal: Use compressed air or a vacuum to remove all sanding dust and particles. Even a thin layer of dust creates a weak boundary layer between adhesive and substrate.
—Seal coat (for particleboard): Apply a thin first coat of adhesive (80-100 g/m2) and allow it to dry completely. This seals the porous surface and prevents the main coat from being absorbed, which would starve the glue line.
HPL Back Preparation
Most HPL sheets come with the back already sanded from the factory. Inspect the back surface: if it appears glossy or smooth in patches, lightly sand with 120-grit sandpaper to create uniform texture. Wipe off dust with a clean, dry cloth. Do not use water or solvents on the HPL back unless contamination is present — moisture absorbed into the kraft paper layers can cause blistering after lamination.
Step-by-Step Adhesive Application
1. Apply Adhesive to Both Surfaces
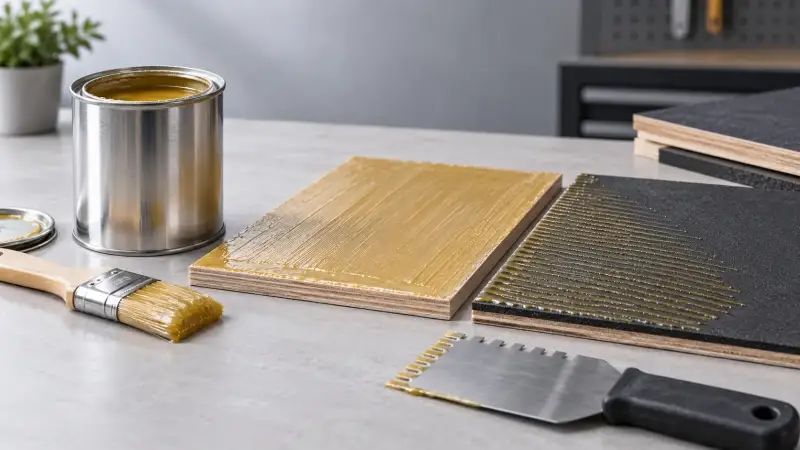
Contact adhesive must be applied to both the substrate and the HPL back. Use a short-nap roller, notched spreader, or spray gun for even coverage. Apply in one direction to avoid air entrapment. Recommended coat weights:
—Substrate (porous): 150-200 g/m2 (after seal coat has dried)
—HPL back (non-porous): 120-150 g/m2
—Edge coverage: Extend adhesive 5-10 mm beyond the trim line on all edges to ensure full coverage at the most vulnerable points
2. Allow Proper Drying
Allow the adhesive to dry until it is tacky but not wet. For solvent-based neoprene or SBS adhesive, this typically takes 10-20 minutes at 23°C. For water-based adhesive, allow 20-40 minutes, longer in cool or humid air. Use the knuckle test: press the back of your knuckle firmly against the film. It should feel dry to a light touch but tacky under firm pressure. If adhesive transfers to your skin, wait longer.
3. Align and Position
Contact adhesive bonds on contact — there is no repositioning once the two surfaces touch. For precise alignment on large countertops, place wooden dowels or alignment sticks (6-8 mm diameter) across the substrate at 200 mm intervals. Position the HPL sheet on top of the dowels, align carefully with the substrate edges, then remove dowels one at a time starting from one end while pressing the laminate down progressively.
4. Press with J-Roller
Immediately after contact, apply firm, uniform pressure across the entire surface using a heavy J-roller (hand pressure roller weighing 2-5 kg). Start from the center and roll outward toward all edges. This technique pushes trapped air to the edges where it can escape. Make at least 3 complete passes across the surface. Apply extra pressure along all edges — edge delamination is the most common defect in HPL countertop production.
For industrial production, powered pinch rollers delivering 0.3-0.5 MPa pressure provide the most consistent results. Vacuum bag pressing is used for curved or irregular surfaces where roller access is limited.
Does a Result on MDF Hold for Particleboard or Plywood?
Not reliably. The adhesive is the same, but the board changes how much of the first coat soaks in, how flat the glue line is, and where a weak bond breaks. A peel result from HPL on MDF tells you little about HPL on particleboard, and a test on dry workshop board tells you little about board that has picked up moisture in a humid warehouse. Re-test when any of these change:
—Board type or supplier: particleboard surface density varies between mills far more than MDF does, which changes whether a seal coat is needed.
—Laminate type: post-forming HPL, standard HPL and low-pressure melamine have different backs; some need sanding, some do not.
—Application method: brush, roller and spray lay down different coat weights, and a spray grade is thinner than a brush grade of the same chemistry.
—Heat exposure: a countertop beside a cooktop, and a panel that crosses the tropics in a container, need testing at the temperature they will actually see.
If the specification also calls for low VOC, test a water-based contact adhesive against your solvent grade under the same conditions — same board, same coat weight, same press — before switching. Drying time and heat resistance are what usually change; our solvent vs water-based comparison covers the trade-offs. For flat panels that go through a press, a PVAc wood adhesive is another solvent-free route.
Post-Forming and Curved Laminate Bonding
Post-forming is the process of bending HPL around a curved substrate edge (typically a bullnose or waterfall countertop profile) using heat. This requires specific adhesive properties and technique:
—Adhesive requirement: Only neoprene contact adhesive is recommended for post-forming. Its heat resistance allows the bond to maintain integrity while the laminate is heated to 150-170°C at the bend point. SBS adhesive softens at these temperatures and loses bond strength.
—Post-forming HPL: Standard HPL cannot be post-formed. Use post-forming grade HPL (0.6-0.8 mm thick) with higher flexibility built into the resin system. The adhesive is applied and dried, then the laminate is heated with infrared heaters and bent progressively around the profile.
—Minimum bend radius: Post-forming grade HPL can typically achieve a minimum bend radius of 6-8 mm at the edge. Tighter radii risk cracking the laminate regardless of adhesive performance.
—Cooling under pressure: After bending, the laminate must be held against the substrate profile until it cools below 60°C. Releasing pressure while hot allows spring-back and potential delamination at the bend.
Troubleshooting HPL Delamination
Delamination — the separation of HPL from the substrate — is the most common and costly defect in laminate manufacturing. The table below lists common causes and corrective actions:
Symptom
Likely Cause
Corrective Action
Edge lifting within 24 hours
Insufficient adhesive at edges; inadequate roller pressure at perimeter
Extend adhesive coverage 5-10 mm beyond trim line; apply extra roller passes on all edges
Blistering in center of panel
Trapped air from uneven adhesive application or incorrect rolling direction
Roll from center outward; apply adhesive in one consistent direction; check coat uniformity
Delamination near heat source
Adhesive heat resistance exceeded (SBS or water-based used near oven/cooktop)
Switch to neoprene contact adhesive (heat resistant to 120°C) for all countertop applications
Weak bond across entire surface
Bonded before adhesive was dry (solvent trapped); contaminated substrate surface
Extend drying time; verify knuckle test; clean substrate with compressed air before coating
Bond failure after weeks/months
Substrate moisture too high; trapped solvent migrating through bond line over time
Check substrate moisture (must be below 12%); allow full adhesive drying; improve workshop ventilation
Post-form edge peeling
Laminate released before cooling below 60°C; wrong adhesive type (SBS instead of neoprene)
Hold pressure until laminate cools fully; use neoprene adhesive only for post-forming
When investigating bond failures, peel back the delaminated laminate and examine both surfaces. If adhesive remains on the substrate (adhesive failure at the HPL interface), the HPL back was not properly prepared or the adhesive was incompatible. If the adhesive splits evenly between both surfaces (cohesive failure), the adhesive film was too thin or not fully dried before pressing. If the substrate surface tears away with the adhesive (substrate failure), the particleboard or MDF was too weak or moisture-damaged.
What to Record When a Panel Fails
A photo of a lifted edge rarely identifies the cause. Before asking your supplier to investigate, record these — they separate an adhesive problem from a process or storage problem:
Where the adhesive stayed — on the board, on the laminate, split between both, or with board fibres attached.
Where on the panel — edges only, centre blisters, near a heat source, or across the whole panel.
When it appeared — within a day, after shipping, or after months in service.
Materials — board type and supplier, laminate type and thickness.
Process — application method, approximate coat weight, drying time before contact, workshop temperature and humidity, and how the panel was pressed.
Adhesive batch number and how the tin or drum was stored.
Frequently Asked Questions
What is the best adhesive for HPL laminate countertops?
Neoprene (CR) contact adhesive is the industry standard for HPL lamination. Our neoprene grade is specified to +120°C (important near kitchen appliances) and ≥3.0 N/mm peel on wood-to-laminate, and bonds immediately after pressing. Heat figures differ between grades of the same chemistry, so compare the TDS of the grades you are offered rather than the chemistry name. For budget-sensitive projects, SBS contact adhesive is a viable alternative for vertical surfaces and non-heat-exposed areas.
How do I prevent bubbles when bonding laminate?
Bubbles are caused by air entrapment during pressing. Prevention: (1) apply adhesive evenly with no thick spots, (2) use a J-roller from center outward during pressing, (3) ensure both surfaces are completely dry before contact, (4) use alignment sticks/dowels to position laminate before pressing. For large panels, use a vacuum press or pinch roller.
Can I use water-based adhesive for laminate bonding?
Water-based contact adhesive can bond HPL to porous substrates (particleboard, MDF, plywood) but dries significantly slower (20-40 minutes for our grade vs 10-20 minutes for solvent-based neoprene). It is not recommended for post-forming or curved laminate applications. For high-volume furniture production, solvent-based adhesive remains more efficient.
How much contact adhesive do I need per square meter of laminate?
Apply 150-200 g/m² to the substrate and 120-150 g/m² to the HPL back. Total consumption is approximately 270-350 g/m² for both surfaces combined. Porous substrates (particleboard) absorb more adhesive and may need a seal coat first.
A detailed comparison of neoprene (CR) and SBS contact adhesives — covering bond strength, heat resistance, cost, and ideal applications for industrial buyers.
Step-by-step instructions for applying contact adhesive in industrial settings — surface preparation, application methods, drying time, and troubleshooting weak bonds.
Guide to heat resistant adhesives for industrial use — temperature ratings, adhesive types, application methods, and selection criteria for high-heat environments.
Send your board and laminate types, whether you have a press, the application method and the heat the finished panel will see. We will come back with candidate grades and what to test on your own panels.